How to Prevent Ice Dams Before Winter Hits: A White Mountains Checklist
Snowflake and the surrounding White Mountains get a real winter — roughly 13 inches of snow a year on average, concentrated between November and April with December typically the heaviest month. That's more than enough snow to create ice dams on a roof that isn't set up to handle it, and ice dams aren't just a cosmetic nuisance. Left unaddressed, they force water back up under shingles and into the roof deck, ceilings, and walls, causing real water damage. The good news is that ice dams are largely preventable, and the fix has almost nothing to do with the roof itself — it happens in the attic, before winter starts.
What actually causes an ice dam
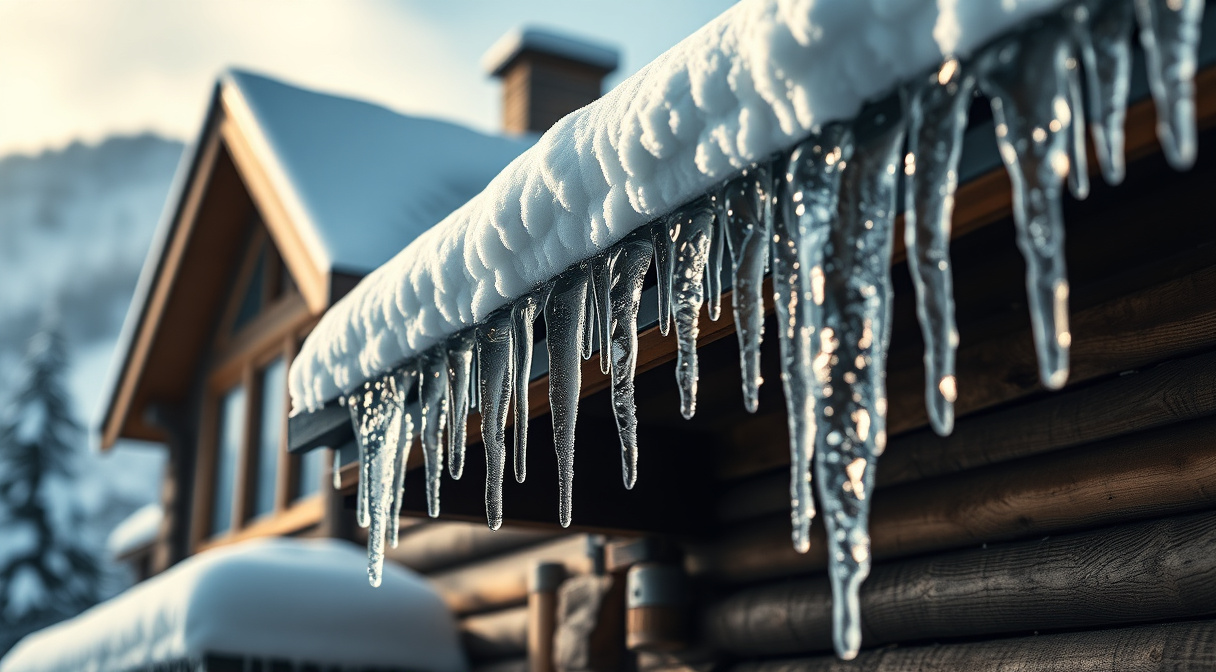
An ice dam forms through a simple, repeatable cycle: heat escapes from the living space into the attic, warms the underside of the roof deck, and melts the bottom layer of snow sitting on the roof. That meltwater runs down the roof slope until it reaches the eaves — the unheated overhang beyond the exterior wall — where it refreezes because that section of roof isn't being warmed from below. The refrozen ice builds up along the eaves, and each new melt cycle backs more water up behind it, eventually pushing water underneath the shingles and into the house.
The pre-winter checklist
1. Check your attic insulation depth and coverage
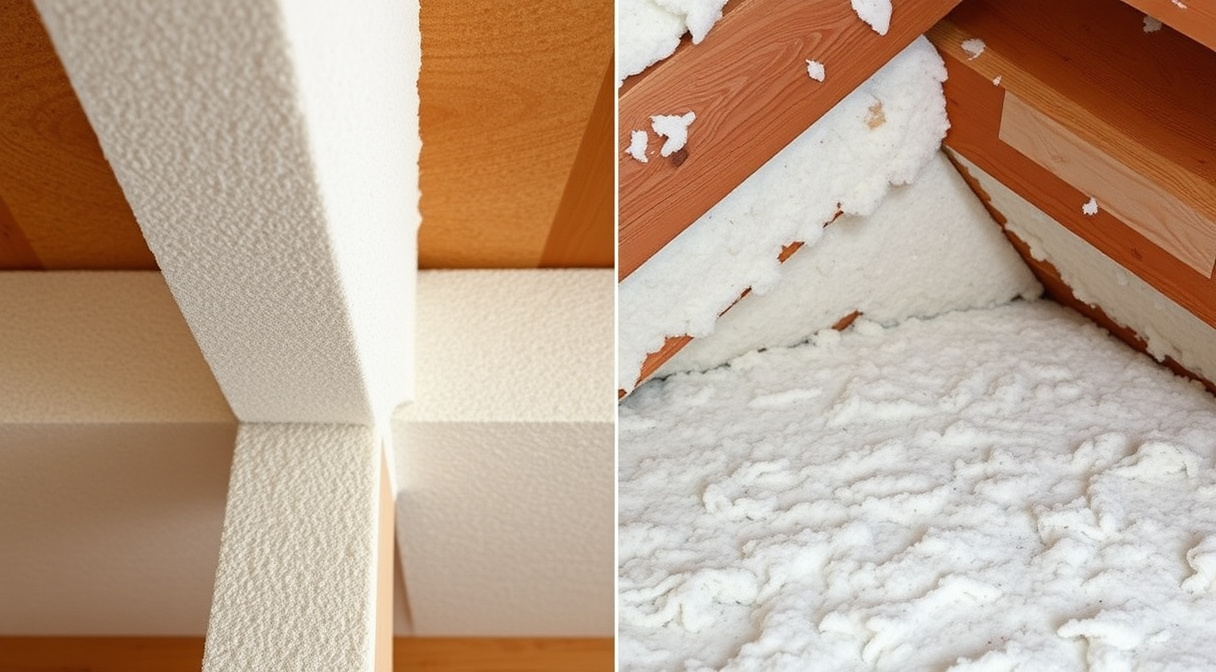
For Climate Zone 5 — which covers Snowflake, Taylor, and the surrounding Navajo County service area — the general attic insulation target is in the R-49 to R-60 range. If your attic insulation looks thin, uneven, or compacted, or if you can easily see the tops of the ceiling joists, that's a strong sign heat is escaping upward and warming your roof deck from below.
2. Air-seal the attic floor, not just the roof
Insulation slows heat conduction, but warm air can still leak straight through gaps around the attic hatch, can lights, plumbing stacks, top plates, and duct penetrations. That leaking warm air is often a bigger contributor to ice dams than insulation depth alone, because it directly heats the roof deck from beneath rather than gradually conducting through material. Air sealing those penetrations before winter is one of the highest-value, lowest-cost steps on this checklist.
3. Confirm your attic ventilation is balanced
Insulation and ventilation have to work together, not against each other. A properly balanced attic system brings in cold outside air at the soffits (intake) and lets warm attic air escape at the ridge or through roof vents (exhaust), keeping the whole roof deck close to outdoor temperature. If soffit vents are blocked by insulation that was blown or stuffed in too far, or if there isn't enough ridge or roof venting, the attic can trap warm air even with good insulation in place — which recreates the exact conditions that cause ice dams.
4. Check for blocked soffit vents specifically
This is one of the most common issues we find in older White Mountains attics: insulation pushed all the way to the eaves blocks the soffit intake vents, cutting off the cold-air side of the ventilation system entirely. A baffle (sometimes called a rafter vent) installed at each soffit keeps insulation back from the vent opening while still allowing full coverage across the attic floor.
5. Look at attic bypasses around chimneys, flues, and skylights
Penetrations for chimneys, plumbing vent stacks, and skylight shafts are common weak points where insulation gets cut short and warm air escapes. These areas deserve a specific look, not just a general glance at attic depth.
A simple pre-winter walkthrough
- Look for thin, uneven, or compacted insulation across the attic floor, especially near the eaves.
- Check whether soffit vents are visibly blocked by insulation from inside the attic.
- Feel for drafts around the attic hatch, can lights, and duct boots on a cool day.
- Note any rooms downstairs that feel drafty or unusually cold near exterior walls — that can point to the same air-leak paths that feed ice dams.
- If your home had ice dams or roof-edge icicles last winter, treat that as a strong signal to address insulation, air sealing, and ventilation before this winter, not after the next storm.
Timing matters
Attic insulation, air sealing, and ventilation work is far easier to schedule and complete before the first snow than during an active winter. Waiting until ice dams have already formed means dealing with both the underlying attic problem and any water damage that's already happened. A pre-winter check gives you time to fix the actual cause instead of reacting to the symptom on your roofline.
If you want a real assessment of your attic's insulation, air sealing, and ventilation balance before winter sets in across Snowflake, Taylor, Show Low, or the rest of the White Mountains, call 844-967-5247 or email josh@contractorschoiceagency.com. We'll tell you plainly what's driving heat loss in your attic and what it takes to fix it before the snow flies.
Frequently asked questions
Ice dams form when heat escaping from the living space into the attic warms the roof deck and melts snow near the ridge, while the unheated eaves stay cold. The meltwater runs down and refreezes at the eaves, building up ice that can force water back up under the shingles.
Yes. Insulation and air sealing reduce how much heat reaches the roof deck, while balanced ventilation (soffit intake plus ridge or roof exhaust) keeps the whole roof deck closer to outdoor temperature. Addressing only one usually leaves the underlying heat-loss problem in place.
Ready for a free quote?
Tell us about your home and we'll build a clear quote — rebates included.